Nail Polish Basics: How to Apply and Remove Polish
When it comes to nail care, applying and removing nail polish is an essential skill that every nail enthusiast should master. Whether you’re a beginner or a seasoned pro, understanding the basics of nail polish application and removal can help you achieve beautiful, long-lasting manicures. In this blog post, we’ll walk you through the step-by-step process of applying and removing nail polish, along with some helpful tips and tricks along the way. Let’s get started!
Applying Nail Polish
Before you dive into the world of nail polish application, it’s important to prepare your nails properly. Start by removing any old nail polish using a gentle nail polish remover. This will ensure a clean canvas for your new manicure. Next, trim and shape your nails to your desired length and shape. Remember to file in one direction to prevent any damage to the nail.
Once your nails are prepped, it’s time to apply a base coat. A base coat not only helps the polish adhere better to the nails but also protects them from staining. Apply a thin layer of base coat and allow it to dry completely before moving on to the next step.
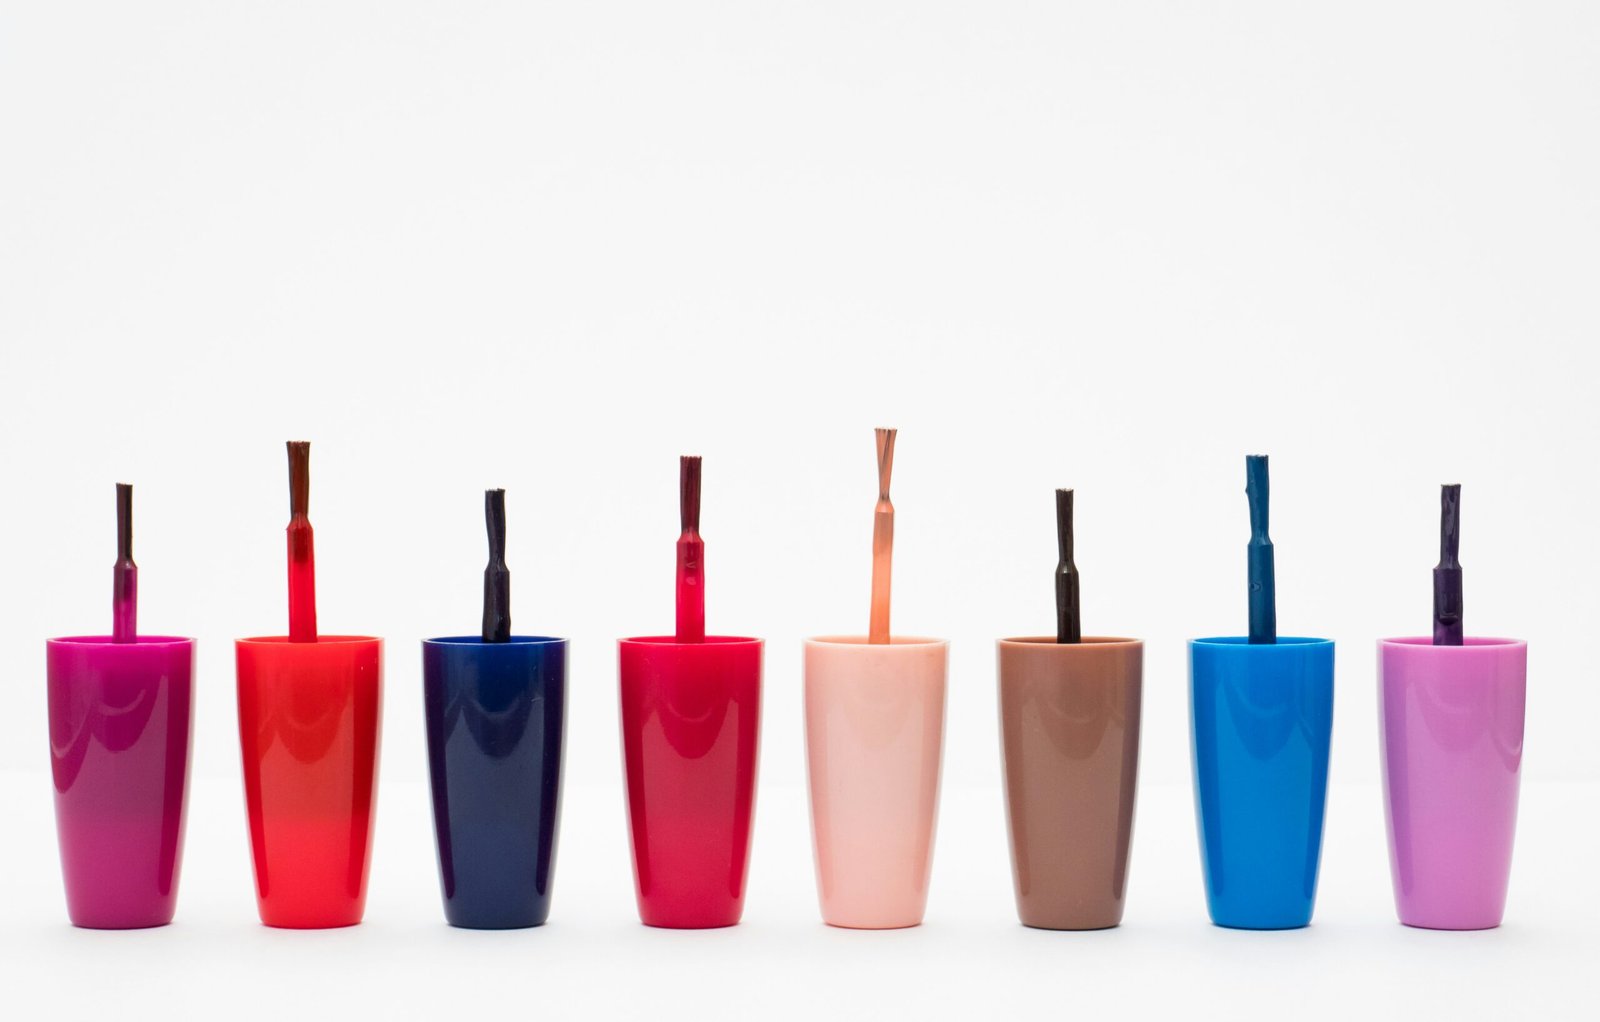
Now comes the fun part – applying the nail polish! Choose your favorite shade and gently roll the bottle between your hands to mix the polish. Start by applying a thin layer of polish to the center of your nail, then carefully brush it towards the edges. Be sure to leave a small gap between the polish and your cuticles to prevent any smudging. Repeat this process for each nail, allowing the polish to dry between coats.
Once you’re satisfied with the opacity of the color, finish off your manicure with a top coat. A top coat not only adds shine to your nails but also helps protect the polish from chipping. Apply a thin layer of top coat and allow it to dry completely. Voila! You now have a beautiful, freshly painted manicure.
Removing Nail Polish
When it comes time to remove your nail polish, it’s important to do it properly to avoid damaging your nails. Start by gathering all the necessary tools – cotton balls or pads, nail polish remover, and a cuticle pusher.
Begin by saturating a cotton ball or pad with nail polish remover. Place the saturated cotton ball on your nail and hold it in place for a few seconds to allow the remover to penetrate the polish. Gently press down and swipe the cotton ball towards the tip of your nail, removing the polish in one smooth motion. Repeat this process for each nail, using a fresh cotton ball or pad as needed.
Once all the polish is removed, it’s time to give your nails some extra love and care. Use a cuticle pusher to gently push back your cuticles, being careful not to apply too much pressure. This will give your nails a clean and polished look.
Finally, rinse your hands with warm water and apply a moisturizing hand cream or cuticle oil to hydrate your nails and cuticles. This will help restore any moisture lost during the polish removal process.
Tips and Tricks
Now that you know the basics of applying and removing nail polish, here are some additional tips and tricks to help you achieve salon-worthy manicures:
- Always apply thin layers of polish to prevent streaking and ensure faster drying time.
- Allow each layer of polish to dry completely before applying the next one to avoid smudging.
- Seal the edges of your nails with the base coat, color, and top coat to prevent chipping.
- Use a cuticle oil or moisturizer regularly to keep your nails and cuticles healthy and hydrated.
- Experiment with different nail polish colors and finishes to express your personal style.
With these nail polish basics in your arsenal, you’ll be well-equipped to create stunning manicures right at home. Remember, practice makes perfect, so don’t be afraid to experiment and have fun with your nail polish collection. Happy painting!


